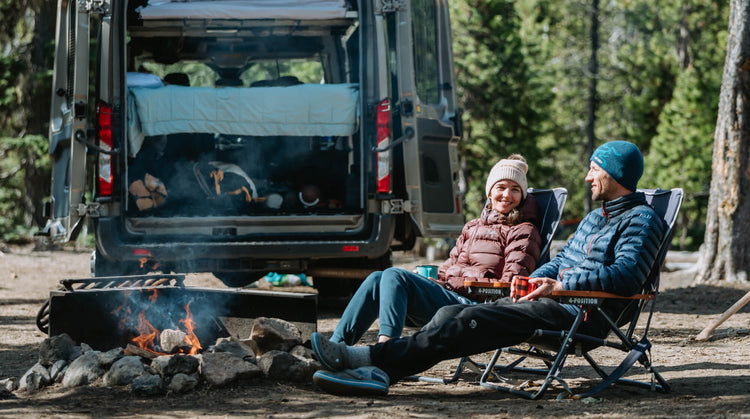
Transit HR Long DIY Interior Conversion
This guide is for installing the entire Adventure Wagon Interior kit in a 2015-present Transit high-roof, long van.
Any additional written build notes below will be the most up-to-date instructions and the video should be used as a baseline.
Installation can be done over four to six days but can vary significantly based on skill and experience. It helps to have two people for A-frame bracing, track and panel installation.
View our list of recommended tools for the job here.
Day 1
Introduction, Van prep and fan installation
-
Step 1Introduction & Van Prep - HRLView Step
Introduction & Van Prep - HRL
-
Step 2Fan installation - HRLView Step
Fan installation - HRL

Fan Installation - HRL Video
Introduction & Van Prep - HRL
Fan installation - HRL

Fan Installation - HRL Video
Day 2 & 3
A-frame wall and ceiling bracer installation
-
Step 1A-Frame Installation - HRLView Step
A-Frame Installation - HRL
-
Step 2Ceiling Bracer Installation - HRLView Step
Ceiling Bracer Installation - HRL
A-Frame Installation - HRL
The heart of our Interior system is our A-Frame wall bracers and ceiling struts. We have modified how the wall bracers get installed please see our additional notes:
- If your ceiling braces (ribs) are not aligned with our centering tool then refer to the video guide below for how to measure yourself and center your ceiling speed struts:
- If you've used self tapping set set screws to temporarily hold the wall track in place, please remove once the track is fastened to ensure the L track lays flat against the wall bracer
- Do not install your upper wall Thinsulate insulation until after your wiring chase is installed to avoid leaving shavings in the insulation
Ceiling Bracer Installation - HRL
The heart of our Interior system is our A-Frame wall bracers and ceiling struts. We have modified how the wall bracers get installed please see our additional notes:
- If your ceiling braces (ribs) are not aligned with our centering tool then refer to the video guide below for how to measure yourself and center your ceiling speed struts:
- If you've used self tapping set set screws to temporarily hold the wall track in place, please remove once the track is fastened to ensure the L track lays flat against the wall bracer
- Do not install your upper wall Thinsulate insulation until after your wiring chase is installed to avoid leaving shavings in the insulation
Day 4
Electrical wiring and insulation
-
Step 1Cab Wiring Harness - HRLView Step
Cab Wiring Harness - HRL

Cab Wiring Harness - HRL Video
-
Step 2Fuse Block & Electrical Connections - HRLView Step
Fuse Block & Electrical Connections - HRL

Fuse Block & Electrical Connections - HRL Video
-
Step 3Hushmat & Insulation - HRLView Step
Hushmat & Insulation - HRL

HUSHMAT & INSULATION - HRL Video
Cab Wiring Harness - HRL

Cab Wiring Harness - HRL Video
Fuse Block & Electrical Connections - HRL

Fuse Block & Electrical Connections - HRL Video
Hushmat & Insulation - HRL

HUSHMAT & INSULATION - HRL Video
Day 5
Panels & L-track
-
Step 1Panels & L-Track - HRLView Step
Panels & L-Track - HRL

Panels & L-Track - HRL Video
Panels & L-Track - HRL

Panels & L-Track - HRL Video


