Use this tutorial if you already have a kit installed.
VIDEO INSTRUCTION
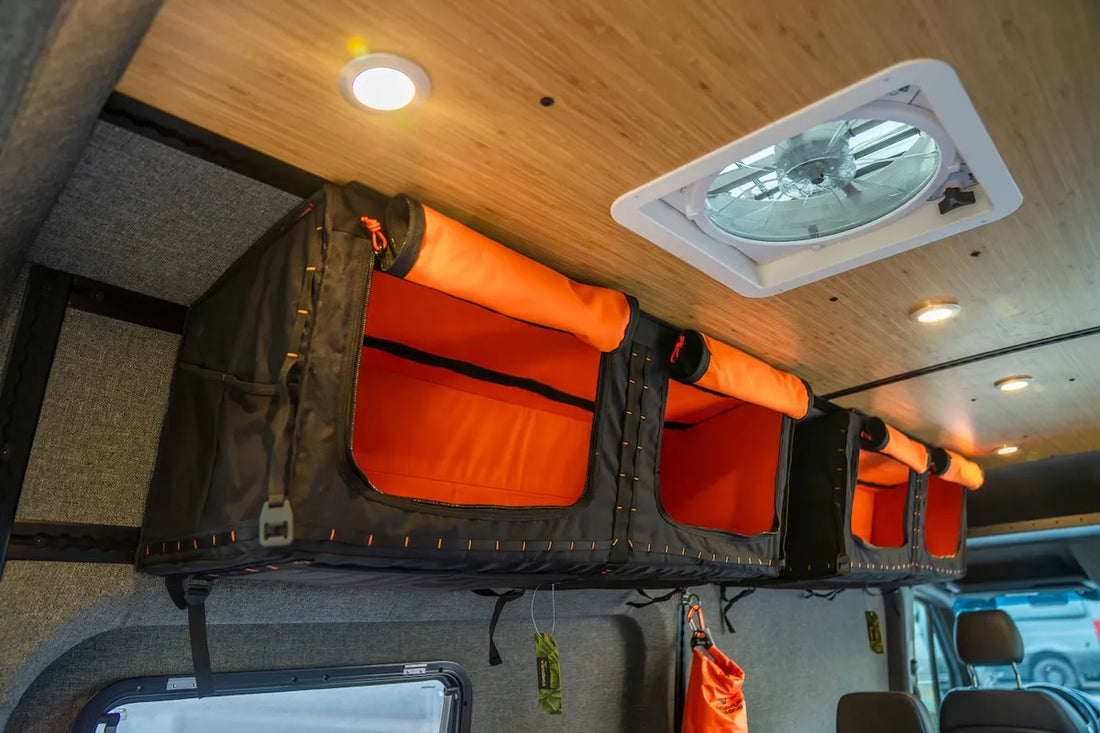
Install your Adventure Wagon Mule Bag using your van’s ceiling and wall L-Track. Choose your setup below for the appropriate video instructions, then follow the installation steps to securely mount the bag.
Any additional written build notes below will be the most up-to-date instructions and the video should be used as a baseline.
The videos below show our previous mounting hardware, but the installation principles remain the same. Current Mule Bag hardware uses L-Track studs, nuts, and washers rather than knob hardware for an easier, lower-profile installation.
Unpack the Mule Bag and mounting hardware, then remove the rigid side panels and set them aside. Determine where along the wall and ceiling L-Track you want the bag positioned.
Beginning on the ceiling L-Track, position the first L-Track stud approximately 2 inches in from the outside edge of the desired bag location. Measure 21 inches center-to-center to position the middle stud, then another 21 inches to position the opposite outside stud. Use the supplied rubber grommets to help hold the studs in place while mounting the bag.
Starting with the center mounting point, raise the Mule Bag into position and secure it using a washer and nut. Attach the two outside ceiling mounting points using the remaining washers and nuts.
Working from the center outward, position three L-Track studs in the wall track so they align with the mounting holes in the Mule Bag. Place a washer over each mounting point and secure each stud with a nut using a 9/16-inch or 14 mm socket.
Reinstall the rigid side panels, making sure each panel is oriented correctly. Insert the top of the panel first, work it around the mounting hardware, and confirm that it sits snug against the outside wall of the Mule Bag and tight into the corners.
If you're installing multiple Mule Bags, repeat the same positioning and mounting process for each additional bag.